CD/DVD drive trend is disappearing from the market. Now everyone is using bootable Pendrive to install Windows (10/8/7/XP). Because it is easy and simple to create a bootable Pendrive. The first one is with the help of bootable maker tools (Rufus) and another one is the windows command method. Bootable Pendrive through the tool is a very simple process for creating bootable Pendrive as compared to the run commands method.
- Format Pendrive with Command
- Default Router Username and password list
- Best Wi-Fi router for your Home and Office
Windows run command method is a bit complex but you can do if you have little knowledge about various computing tasks. For both methods, you should have a windows iso file for creating a bootable Pendrive. So let’s begun the process step by step to create a bootable Pendrive with (Rufus) tool.
According to Wikipedia, Rufus is a free and open-source portable application for Microsoft Windows that can be used to format and create bootable USB flash drives or Live USBs.
How to Create Bootable Pendrive with Rufus Tool.
- Step 1) Download and Install the Rufus tool.
- Step 2) Now Insert the USB drive in the computer and open the tool.
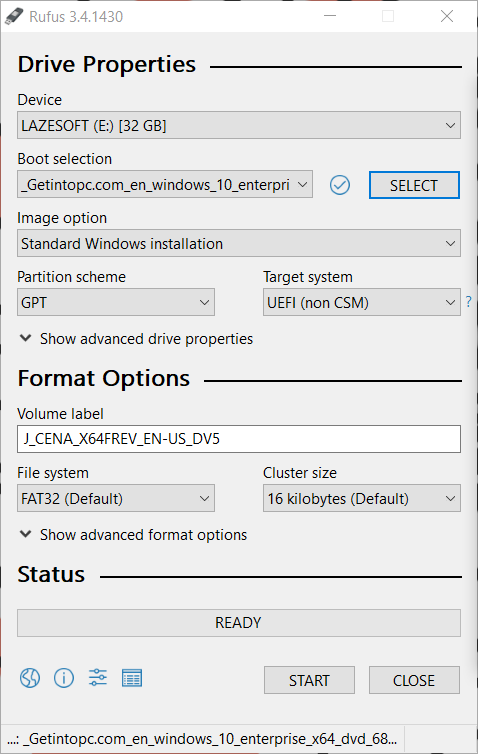
- Step 3) Now click on the Select button, it will ask to browse the Windows.iso file from your system.
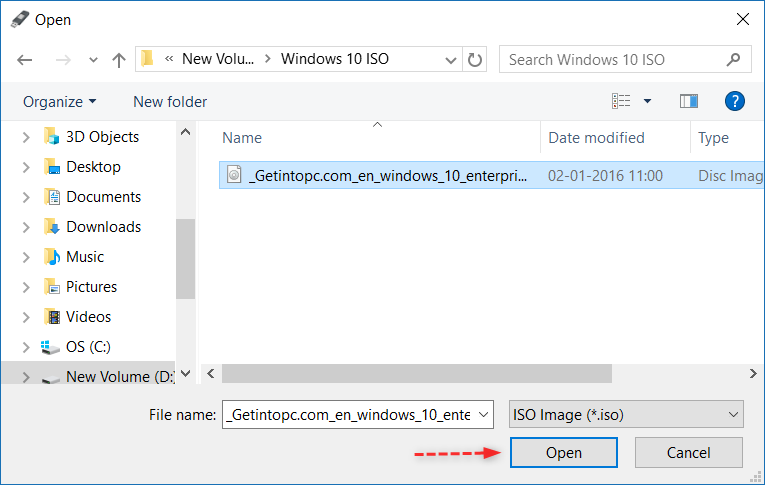
- Step 4) Select and browse the Windows.iso file and click on the Start icon to run this process. This process will take a few minutes to copy all the iso files in Pendrive.
- Step 5) After completing the above process correctly, your Pendrive is ready to install windows.
How to Create Bootable Pendrive with Windows Run Command.
This process is a bit complicated than the first method. But if you will follow all the steps correctly, you can easily make a bootable Pendrive with cmd. The tutorial is tested by our editorial team for creating a Bootable Pendrive for Windows 10.
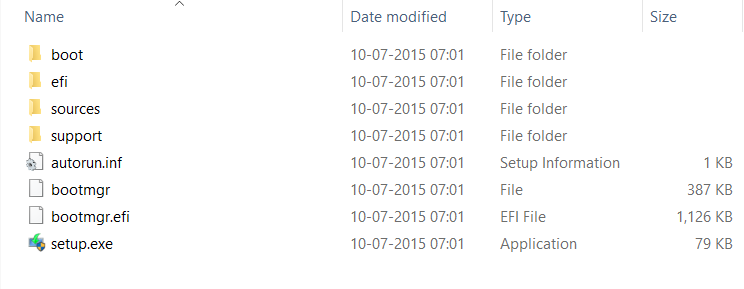
- Step 1) Extract Windows.iso file in a folder with the help of Winrar software like a demo image.
- Step 2) Now open the command prompt and Run as Administrator.
- Step 3) Type
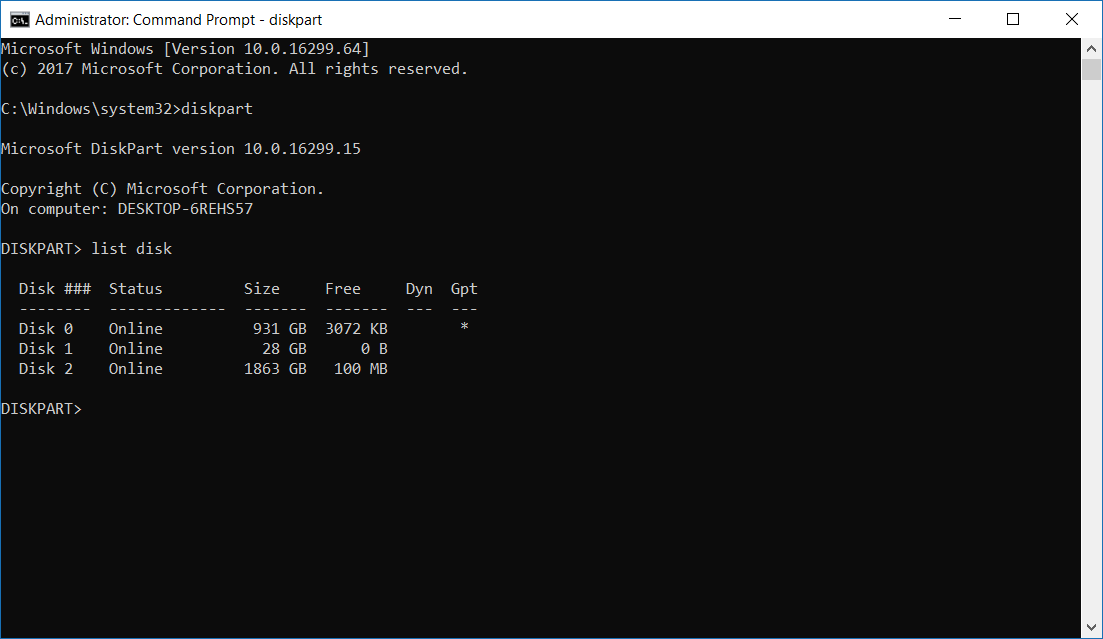
diskpartin the command window and pressEnter.
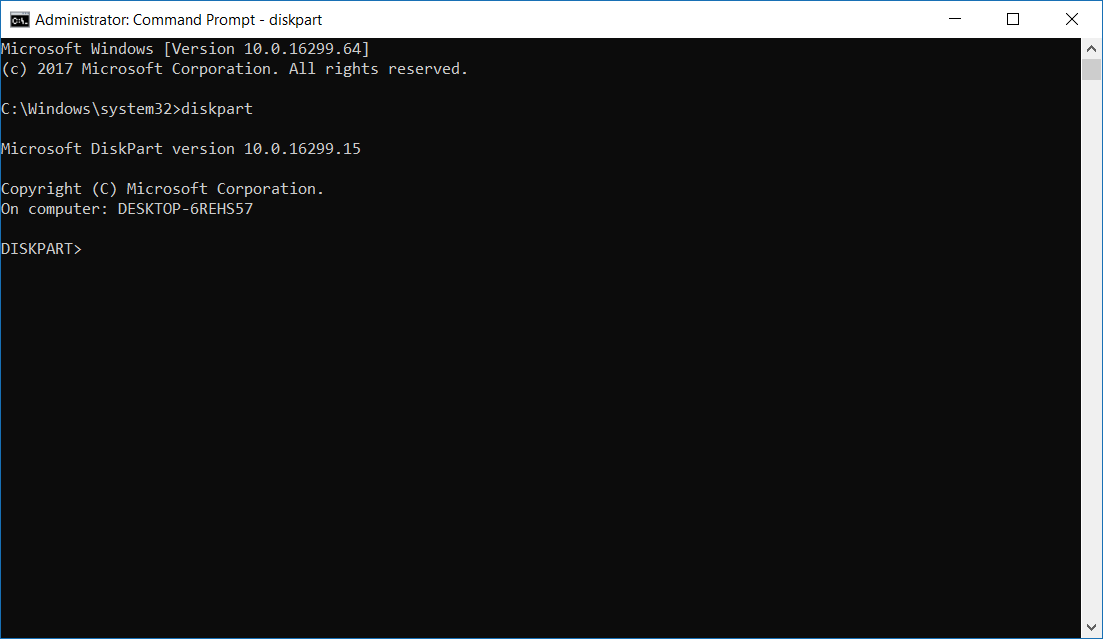
- Step 4) Now again type
list diskin the command window and pressEnter.
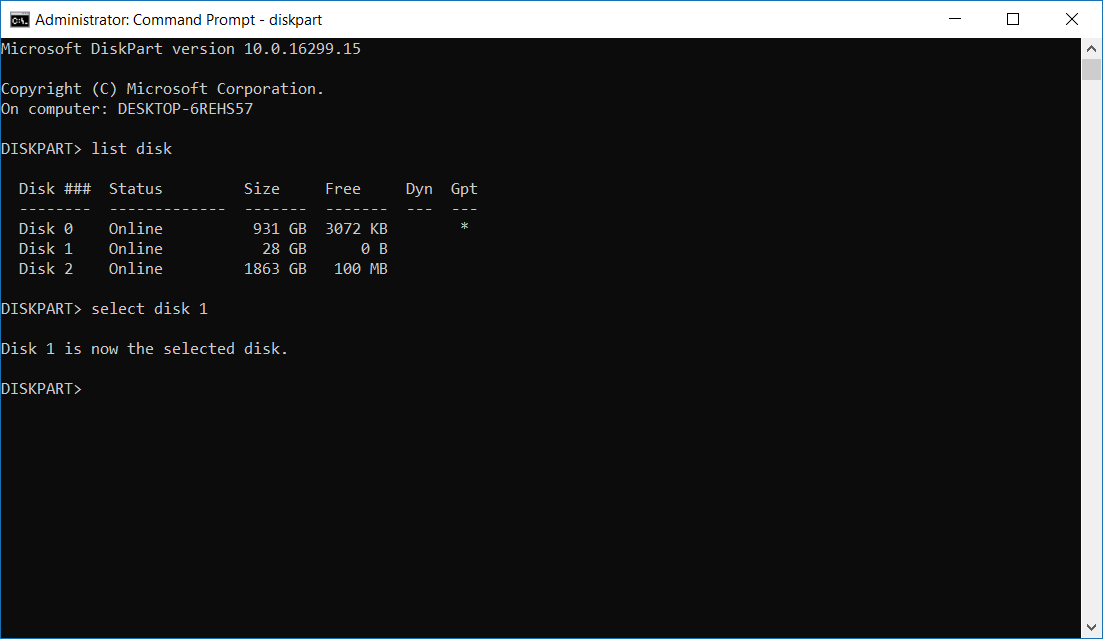
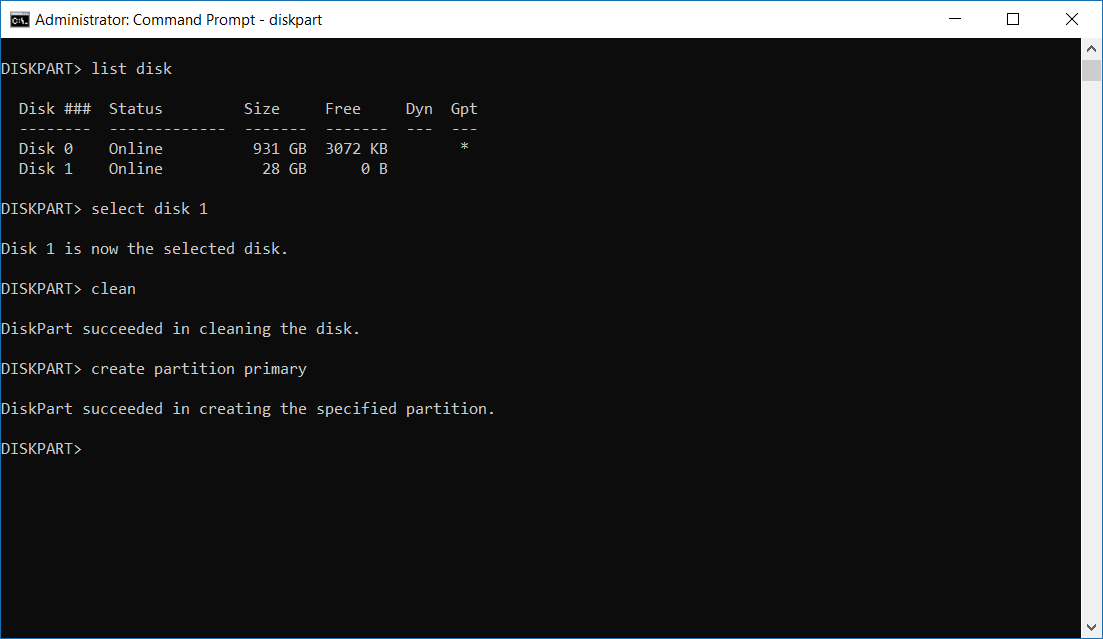
- Step 5) Now select the disk part “
select disk 1” and typeclean. (In my case Pendrive is inserted in disk 1)
- Step 6) Now type “
create partition primary” and press “Enter” button.
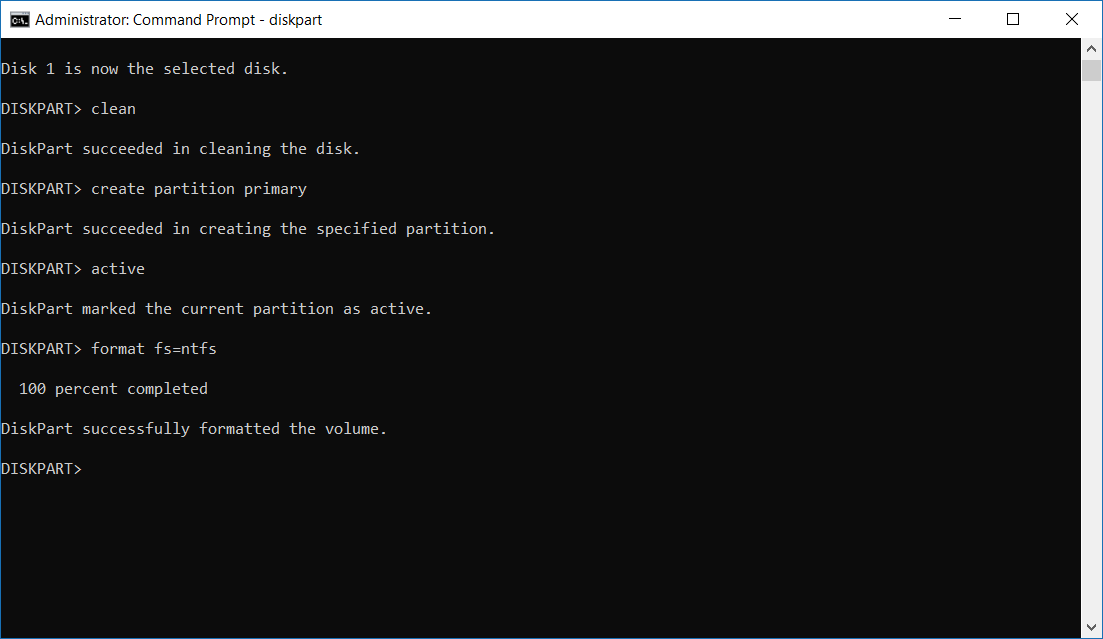
- Step 7) Now type “
active” and press “Enter” button. - Step 8) Again type [
format fs=ntfs] and press “Enter” button.
- Step 9) Now type “
assign” and press “Enter” button.
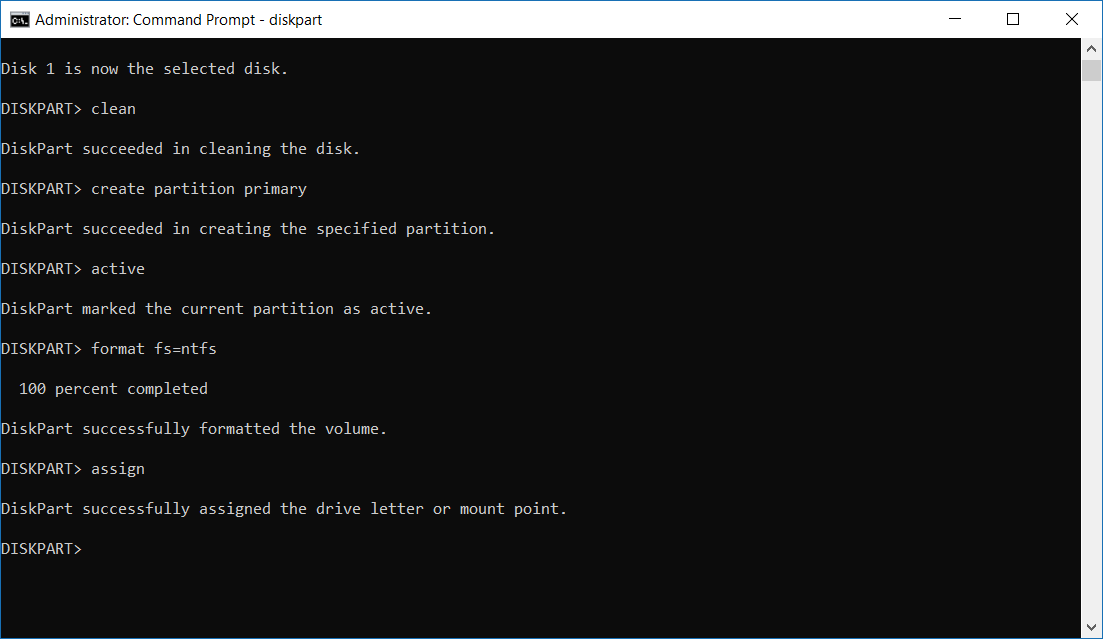
- Step 10) Now type “
exit” and press “Enter” button.
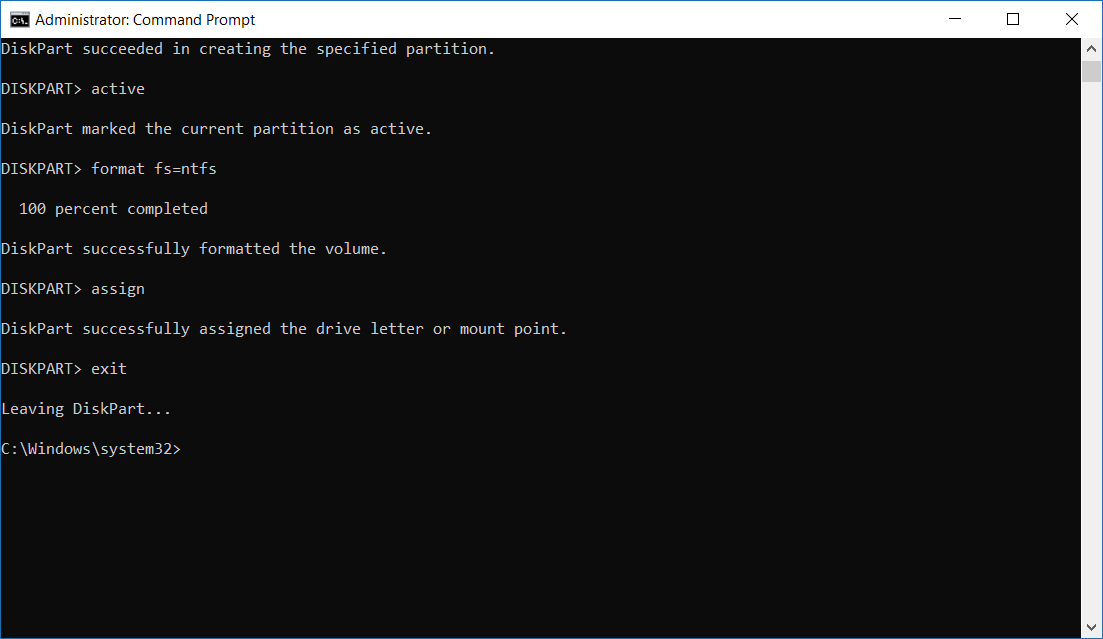
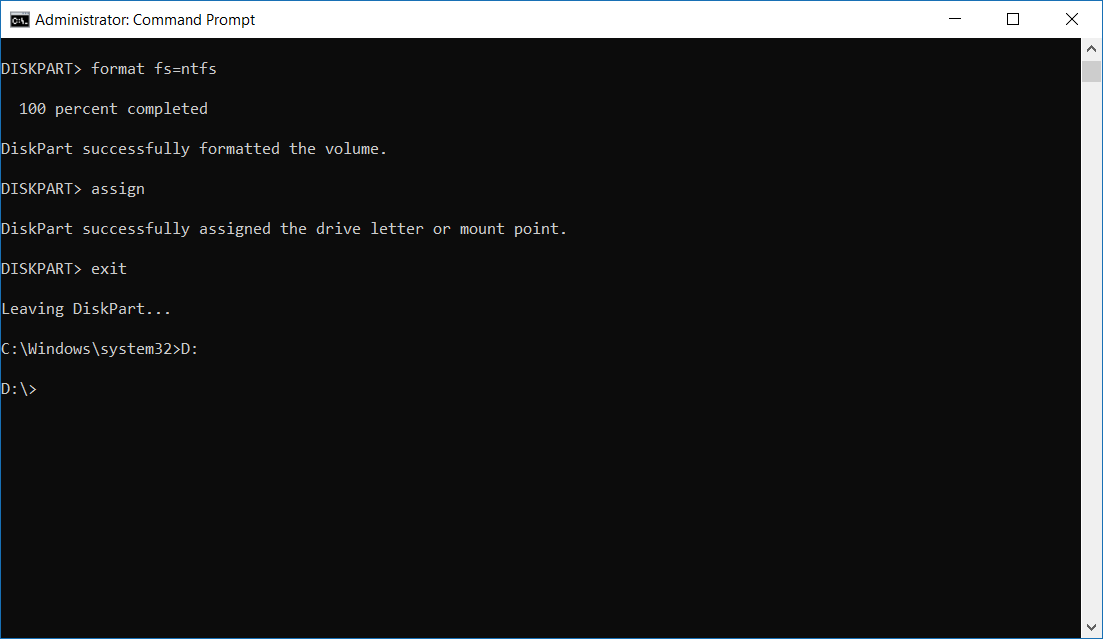
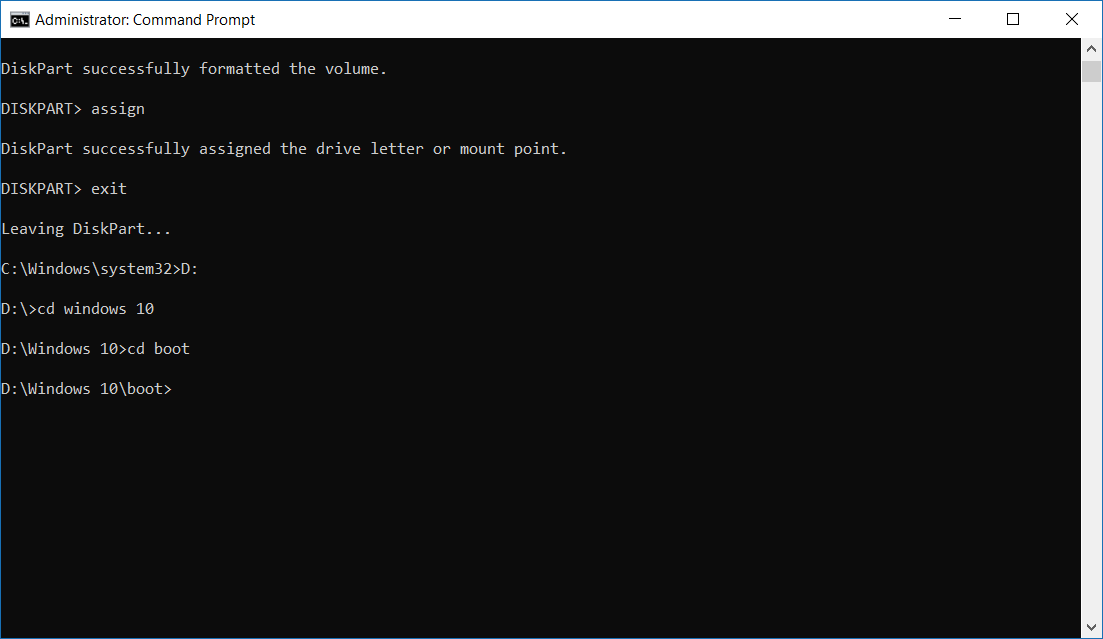
- Step 11) Now select the
drive namewhere your windows file saved in the system. In my case, I selectedD drive. - Step 12) Now
type drive namein command and put column at the end of the drive name “D:” and press “Enter” button. (D: Choose the location of the folder, where all windows files saved in the system)
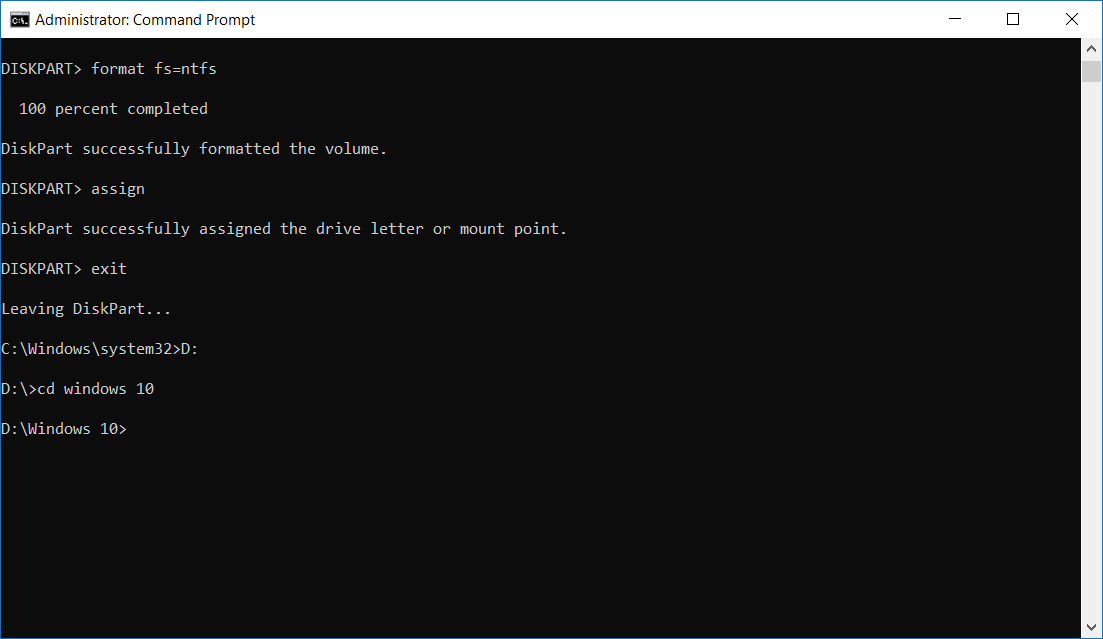
- Step 13) Now type
cdwith a folder name, where all windows files are saved “cd Windows 10” and press “Enter” button. (In my case, I saved all windows files in the D drive folder named Windows 10.
- Step 14) Now type “
cd boot” and press “Enter” button.
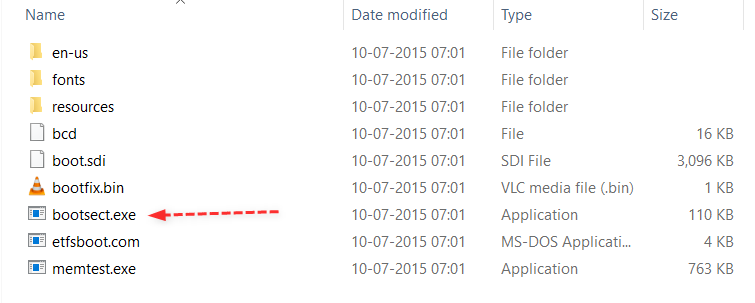
- Step 15) Now you have to select the “
bootsect” executable file. It consists in the boot folder of windows files. (Make sure bootsect file is available in boot folder of windows files).
- Step 16) Now type “
bootsec.exe/nt60 F:” and press “Enter” button. ( F: is the path of Pendrive)
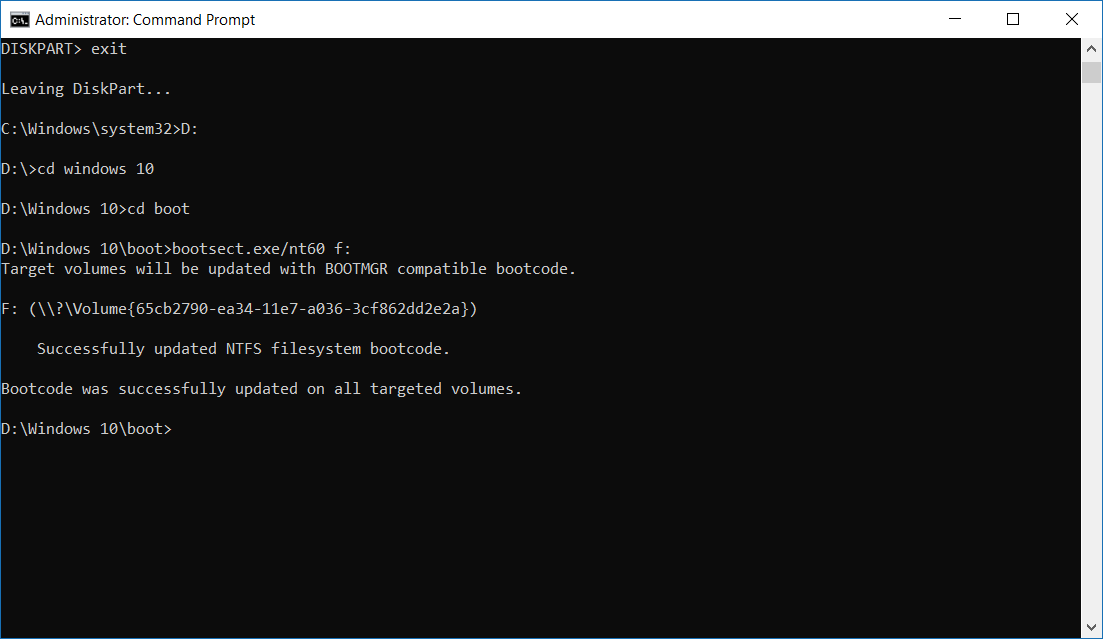
- Step 17) Now type “
exit” and press “Enter” button. All the command process is finished. Now copy all the windows files and paste in Pendrive.
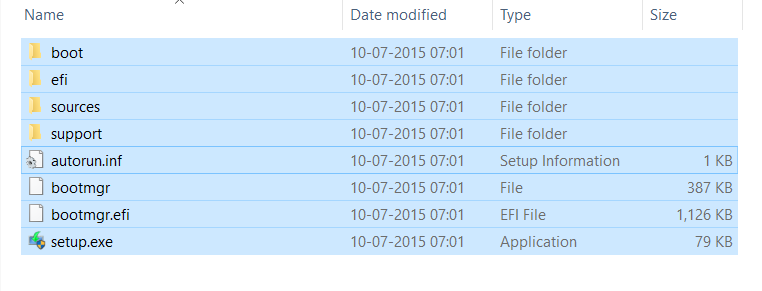
Your USB Pendrive is ready to install windows with bootable USB Pendrive. You have to change the boot priority from BIOS settings and select primary boot device USB pendrive or flash drive. After all, you are facing any kind of problem, you can ask in the comment.
Share Idea Internet | Proxy server list | Boost Wi-Fi Signal on Laptop | Notepad Tricks Codes & Hacks | Android Emulators for PC | Invite all friends to Like Facebook Page | WebSites to Send Free Unlimited SMS
Leave a Reply