Gmail is most commonly used by businesses and individuals to convey messages and information in text or attachment format but out there many of them don’t know the importance of the signature option in Gmail. The signature option is the best way to personalize your email, it contains all your business information including the logo or other details of the individual rather than typing out the same information every time.
You can set up multiple signatures in different formats for different kinds of messages. This is how an email signature looks like and follow the below steps to set up a signature for your emails.
How to Add a Signature in Gmail to Personalize your Emails
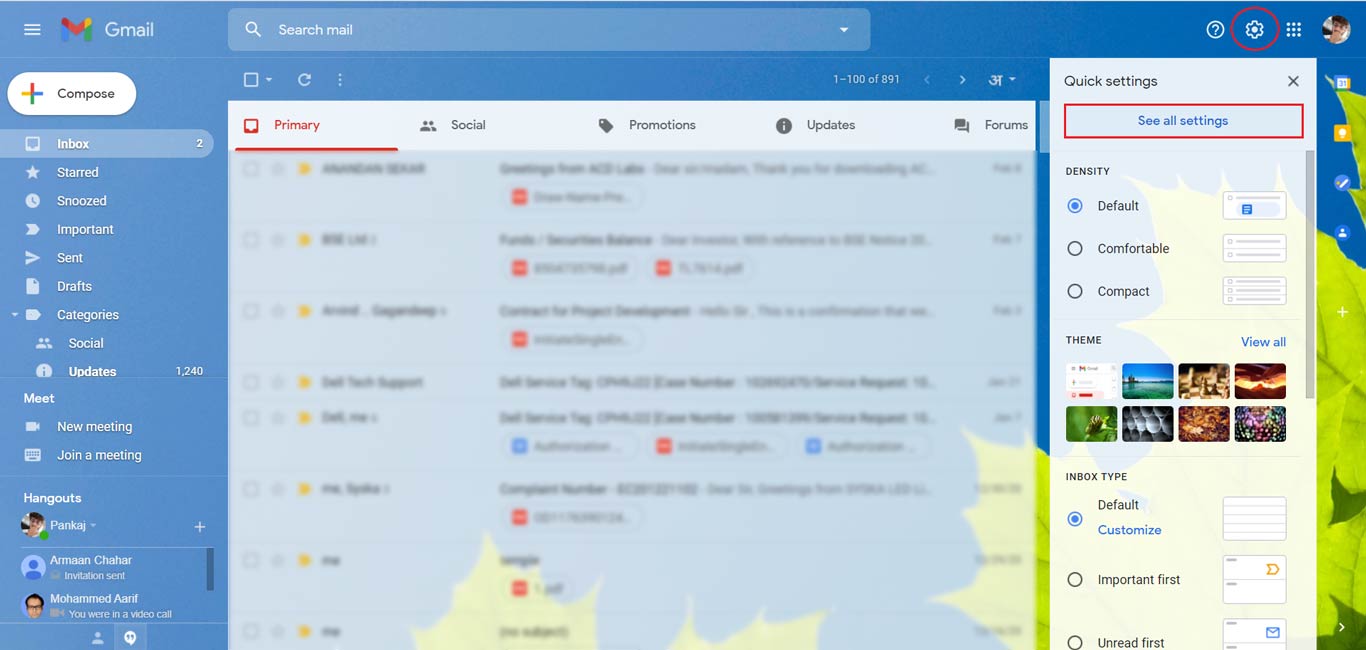
- Step 1) Open your email and click on the Settings icon and then again click on See all settings.
- Step 2) Now go on the General tab and scroll down to the Signature option.
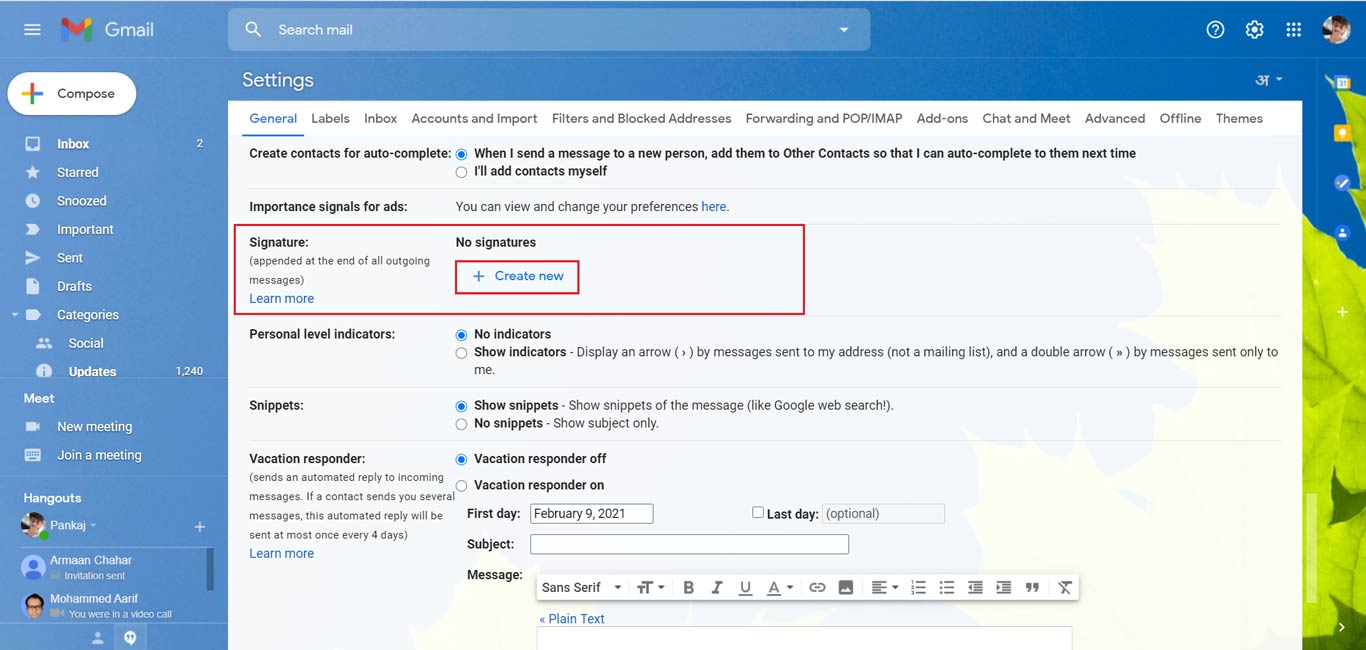
- Step 3) To create a signature, click on the create new and assign a signature name.
- Step 4) In the next step, you will see a formatting option to create a layout of your signature using text and images. Once you made the signature, scroll down on the bottom and save it.
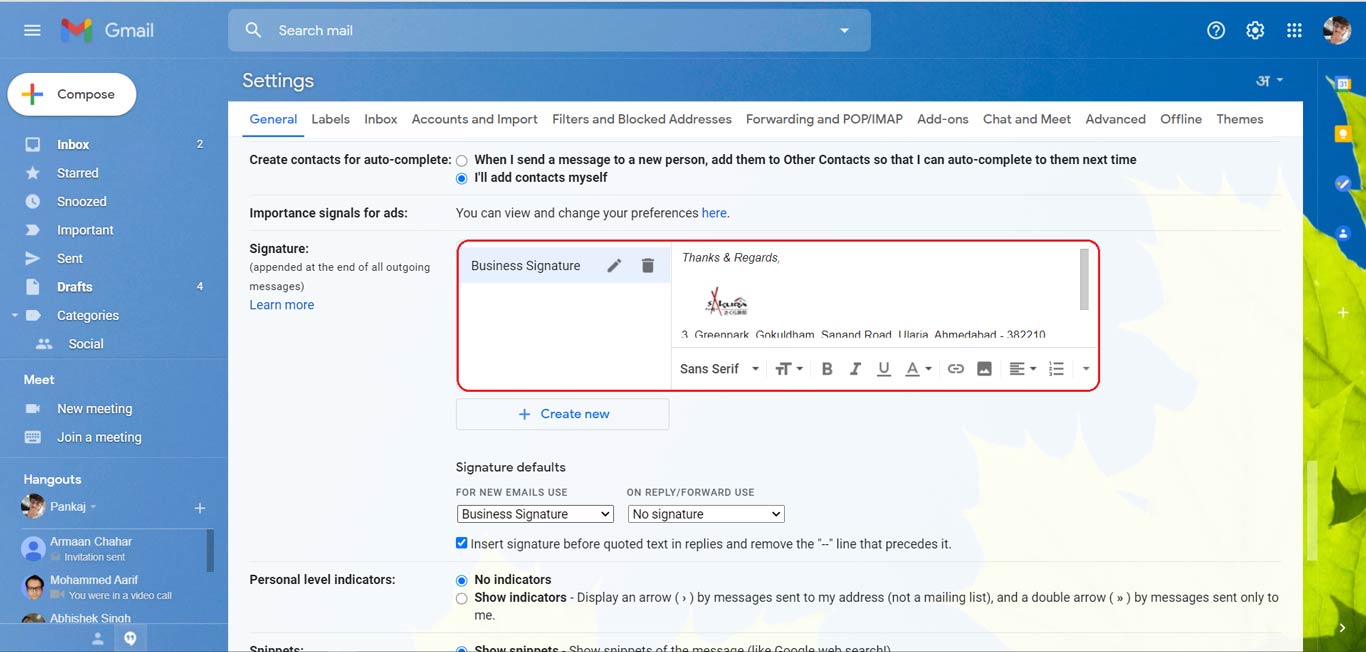
- Step 5) If you want to use the default signature for every new email then select the signature that you created and save it and mark the box (Insert signature before quoted text in replies and remove the “–” line that precedes it)
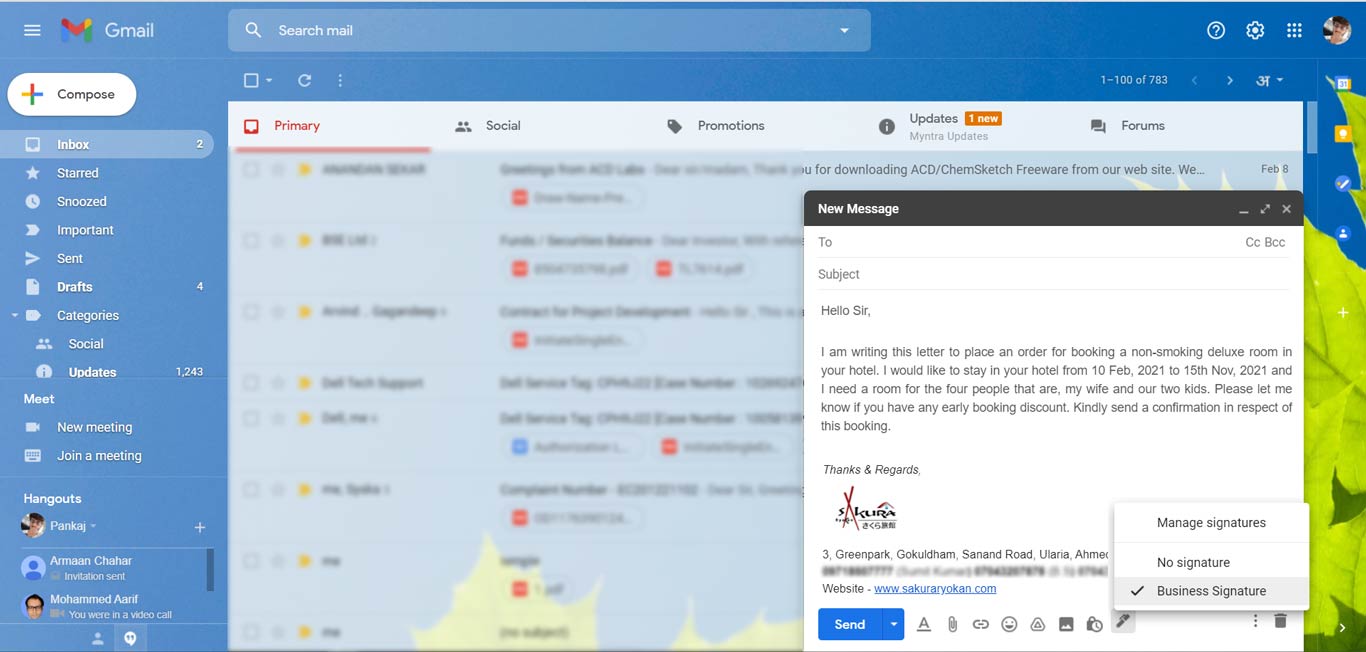
- Step 6) Now open the inbox and compose an email and use the pen icon to use or insert signature.
Leave a Reply